 Derek Jones
 A laypersons guide to SSH security

How to secure your SSH connections
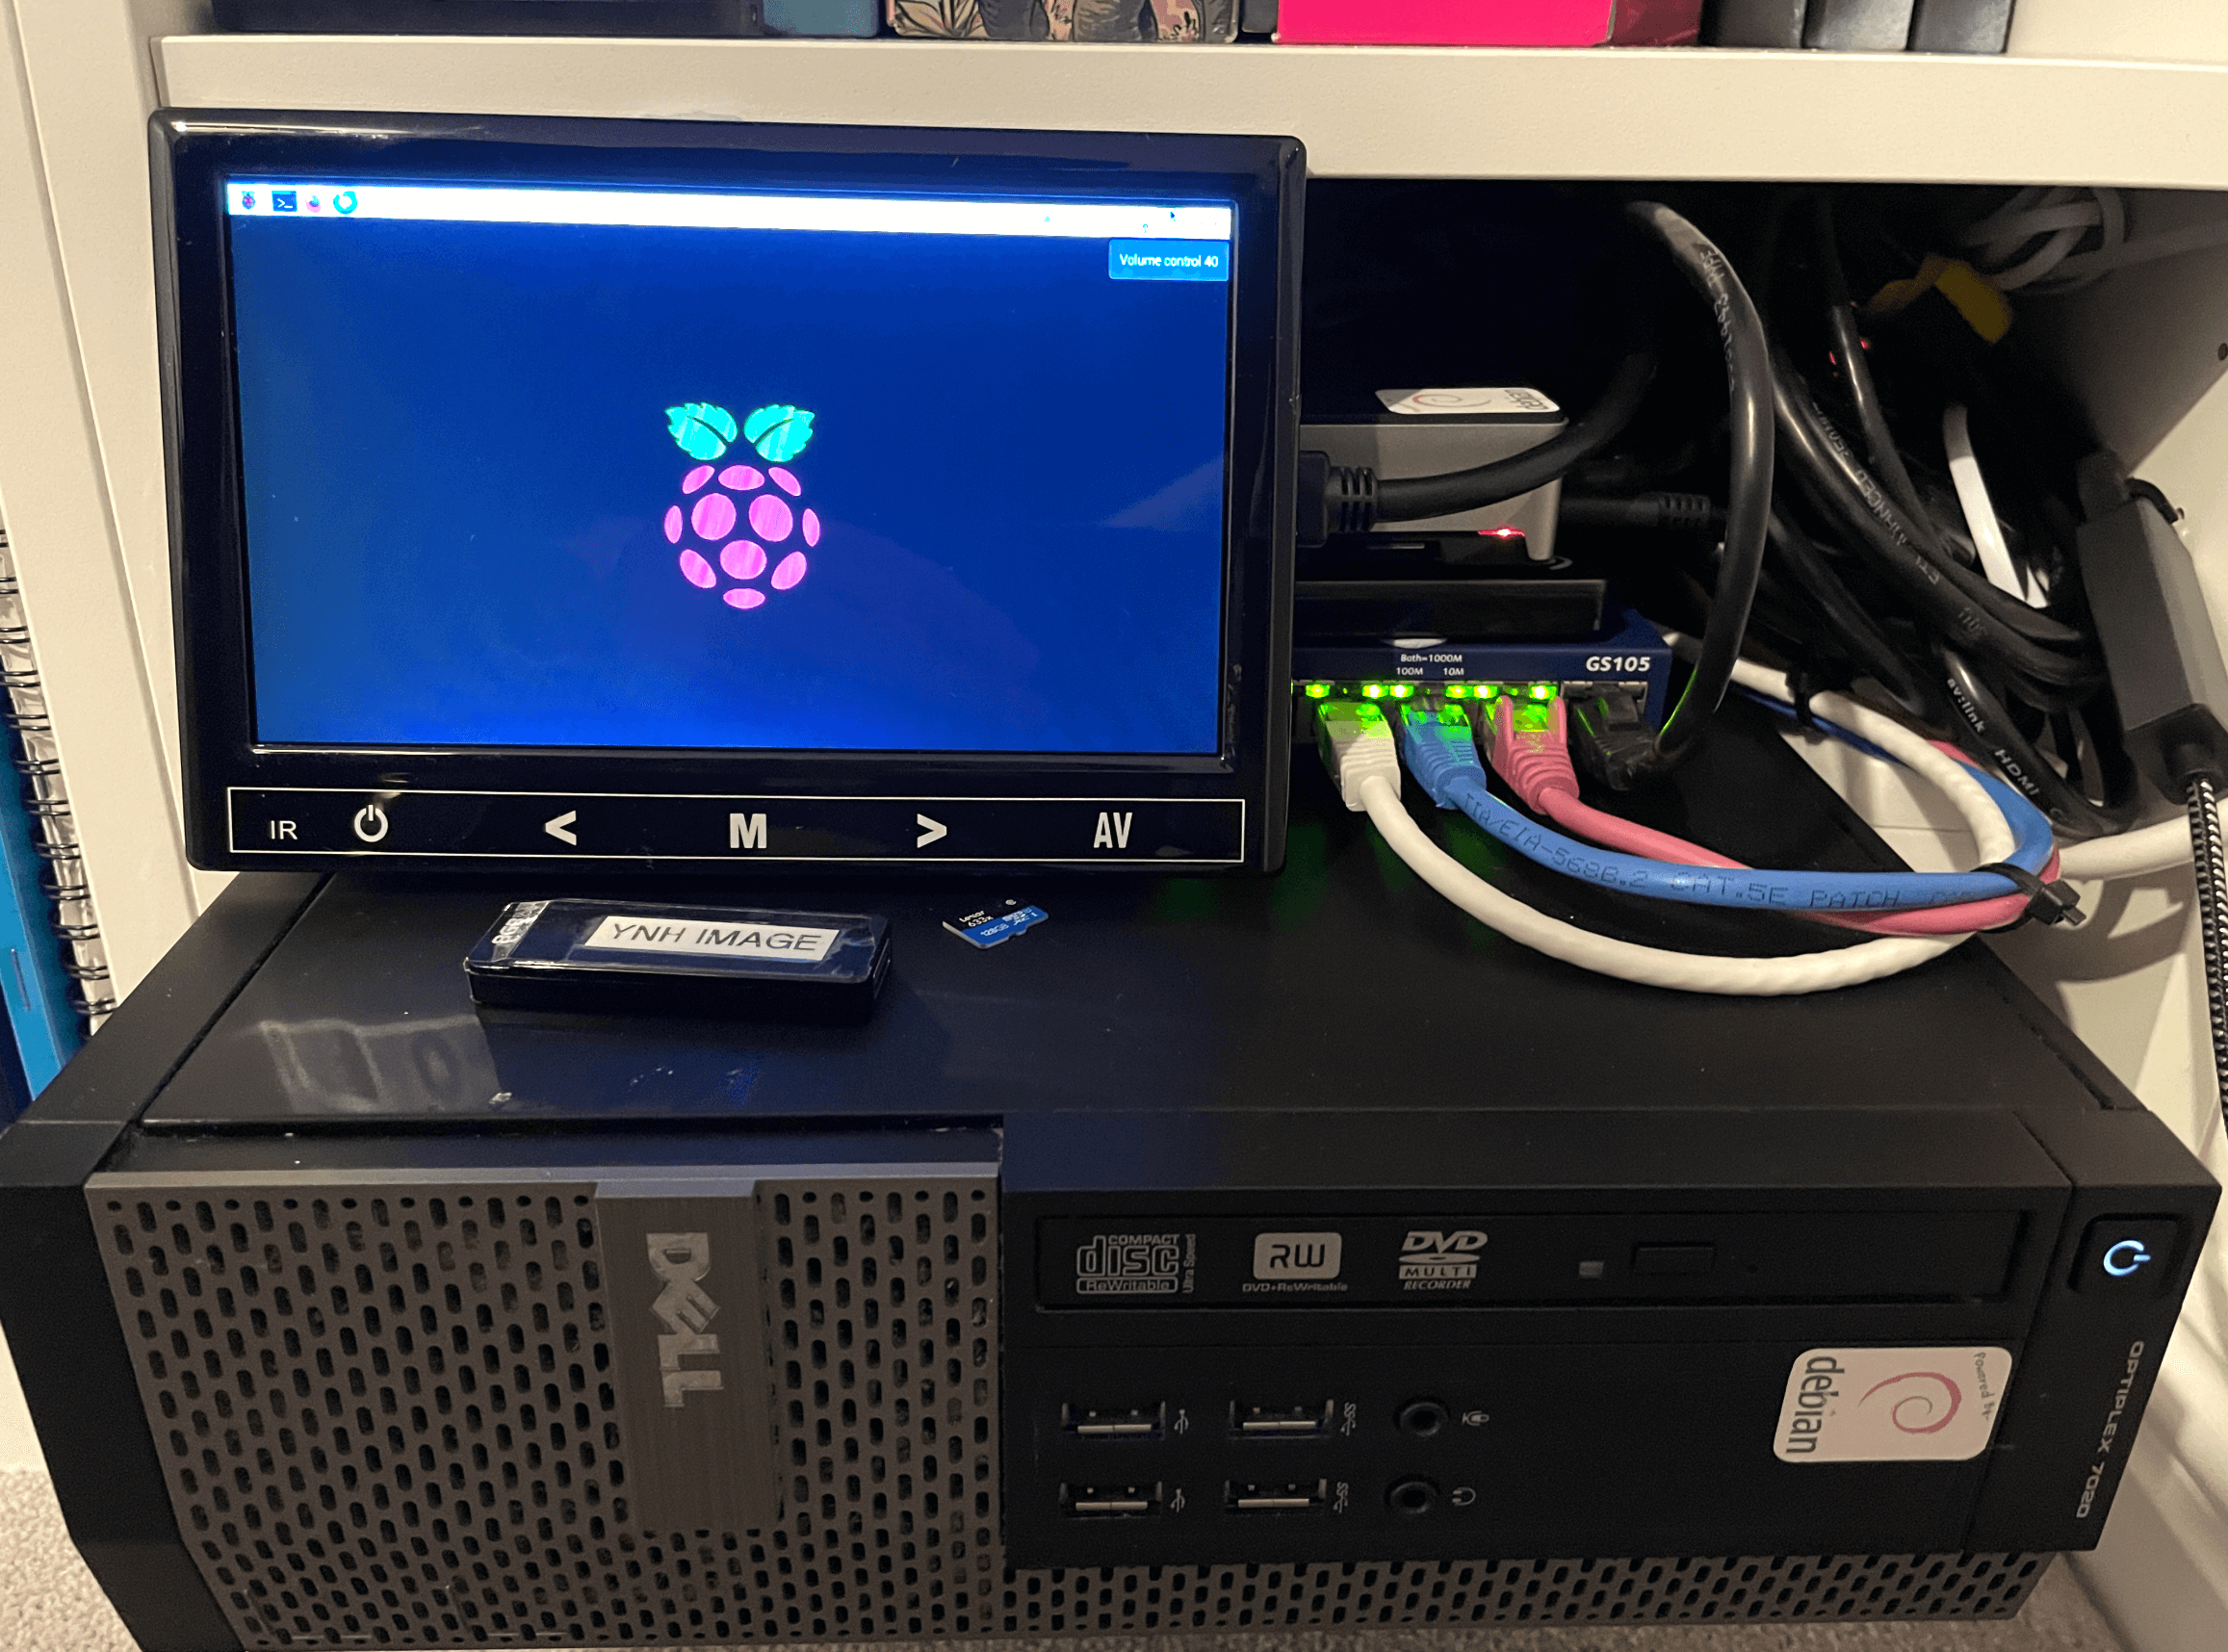
A simple layperson… yes, that’s me, I'm afraid. I’m not a coder, or a network wizard, or an expert scripter. I'm a hobbyist who enjoys tinkering with computers. I’m just a guy who hosts his own stuff from home using a tool that makes that journey so easy. The tool I use is Yunohost. They have put together a nice system that, for people like me, is easy to deploy, use and maintain. They have an excellent catalogue of applications, which are all packaged for use on their platform. This means that the security of the apps is already taken into account, allowing you to install with peace of mind. There are other systems around that do similar, but I have found the Yunohost system to be the better one (FWIW). I make a monthly contribution because it's worth it. You can see my system and what's in it here.
That's the advert done with, now to the reason for this article.
Despite the excellent YNH offer, the excellent catalogue of apps, and ease of use, sometimes you do have to get your hands dirty, and when I say that, I mean using a terminal application and something called SSH to log in to your system and do admin 'stuff' or even more terrifying, fixes... Gulp!
What does SSH mean?
It means Secure SHell (or Secure Socket Shell). It is a collection of utilities that provides encryption, key authentication and strong passwords. SSH is used by us users (admins) to manage our systems and applications remotely, enabling us to log in over a network, remotely or locally, to execute commands and to fix and add things, move files from one place to another, and so on. It's a bit more technical than that, obviously, but that's the basics of it.
Something you should probably do first... Maybe. If you want. I would!
Once you have successfully installed and tested your new Yunohsot system, change the SSH port number. SSH is one of the most scanned ports used by hackers to get into your system. The default port is 22, so change it to something else; anything above 1024 should do the trick. So, using terminal and log in to your system with:
ssh username@123.123.123.123 (the username you used to install YNH, the numbers are your server's IP address).
Hit return and enter your password; this is the one you set when you installed YNH in the first place.
Now type in, or copy:
yunohost settings set security.ssh.ssh_port -v 1234
The 1234 should be your chosen port number above 1024 that you want to use. If you really fancy getting your hands really dirty, you could do the following in terminal:
sudo nano /etc/ssh/sshd_config
This will open up a Linux editor called Nano, and you will have the SSH configuration file in front of you. Scroll down to the line that says #port 22. Delete the hash symbol (the comment) and enter a new port number so it will now say port 1234, the number of the port that you want to use. This method will require a restart of the SSH service, which you can do in the YNH GUI under Services, or while you are here in terminal type:
sudo systemctl restart ssh
However, if you want to keep things nice and simple, use the command yunohost settings set security.ssh.ssh_port -v 1234, which will keep things in order for you.
Some folk will probably say don't bother changing the port number if SSH is not forwarded on your router to your server, but whatever, I'd change it. You do have to remember the port number, though, when entering some commands that require SSH access, like logging in using terminal in the future. You will need to enter the port number prefixed with a -p. We shall see that later.
So once you have changed your port number and restarted the SSH service, instead of logging in with:
ssh username@123.123.123.123, you will now need, ssh -p1234 username@123.123.123.123
To be or not to be...
Ask yourself this question. Do I want to access my system via SSH inside my local network, outside or both? Don't be afraid to access your system outside of your network; you just have to think about a few extra things to stay secure.
Here is a little cut-out and keep table of your options and what you should consider.
ACCESS
PORT FORWARDING
ADVANTAGE
DISADVANTAGE
Internal only
Not required
Your SSH port won't be found when scanned by hackers.
If you are away and need to fix something, you can't. Sorry.
External Only
Required
You can do some work on your server. Excellent.
Your SSH port number (22) is exposed. Good job, you changed it!
Personally, I want both. So I have a Raspberry Pi with a VPN server installed on it. Many places on the internet tell you how to install a vpn on a Pi and how to include it in your network. Once you have installed the vpn server, you only need a vpn client on your device(s). I use WireGuard on all my devices. If I need to do anything, I just fire up Wireguard, make the connection and open a terminal app and log in using my username and password. Everything appears to me as local, as if I am in my living room or kitchen with a cup of tea by using: ssh -p1234 username@123.123.123.123 (Yes, I changed my port number, so I need to remember the -p switch and use -p1234.
Can I be even more secure?
So far, we have been using SSH using a username and password for authentication, whether we are local or remote. (IP address when local, domain names when we are remote, unless you are using a vpn, then it's local.) There is another level of security I have recently tried called Key Authentication. This is a process of generating encrypted public and private keys, one on the server and one on a device that you will use to access your server. When you attempt to log in, if the keys match, you get in; if they don't match, you can't. If you lose your device or it gets corrupted, then you are effectively locked out of your server, but there are backdoor ways to get back in and reset. You'll need a monitor and keyboard connected to your server. More on that later.
So let's assume that for this example, we want to access our server, called myserver.com, remotely. We have changed the default port number for SSH from 22 to 1234. We have configured our modem's firewall to port forward SSH 1234 to our server's IP address. When we open a terminal in the coffee shop down the road and type:
ssh -p1234 username@myserver.com
Followed by the password. We now have our server in front of us, and we can do some stuff. But what happens if we are snooped on, wifi sniffed, our credentials compromised or found, whatever...? We can set up our device or devices to use an authentication key so that only those devices can access the server. Let's just do one device for now, a MacBook Pro 16.
Open up a terminal session on your MacBook Pro 16 (other computer manufacturers and models are available!) and type the following:
ssh-keygen -t ed25519 -C device_name Here the device name will be macbook16 so:
ssh-keygen -t ed25519 -C macbook16
When you hit enter, you will be given a path name to save to. Accept it as it is, just hit return. You will then be asked for a passphrase, which is just another word for a password. You could just not bother and hit return, but I'd advise you to set one. Make it a good one, a long one, so long you need a password manager app to remember it. Again, some may say you don't need it, but what if someone gets a hold of your device? You will be asked to confirm the passphrase.
Your device will now create two keys, a private one and a public one. We need to copy the public keys to our home server with:
ssh-copy-id -i ~/.ssh/id_ed25519.pub username@myserver.com
Hit return. Oh no, you got a connection error. Hmmm. This command assumes that you are using port 22 for SSH, but we have changed it to 1234. Remember that little -p switch? So now type:
ssh-copy-id -i -p1234 ~/.ssh/id_ed25519.pub username@myserver.com
That's it. Done. Close all your terminal sessions, and log in using,
ssh -p1234 username@myserver.com
Now you will be asked for your passphrase and not your password. Enter your passphrase. If you get the server prompt, then the key authorisation for your MacBook Pro 16 to your server works. You still have the old method of logging in using your username and password. We can turn that off so that you can only use key authentication on your MacBook Pro. To turn this off, again, whilst in terminal type:
sudo nano /etc/ssh/sshd_config
You will have probably been here before if you chose to change your SSH port using Nano, the Linux text editor. Scroll down the open file and find the lines:
PasswordAuthentication yes and edit this line by changing the yes to a... no, so now it will read:
PasswordAuthentication no
Also, change the line:
PermitRootLogin yes to no
Save the file and exit. Again, you will have to restart the SSH service through the web GUI, or while you are in terminal type:
sudo systemctl restart ssh
You are all done. Access to your server at home can only be done with your MacBook, remotely. However, can you see the problem here? Your MacBook craps out, breaks down, gets stolen, whatever... You can no longer access your server. You have turned off the username/password method of getting access in favour of key authentication. What do you do?
If you want to use key authentication only, then just repeat the above steps on other devices, iPhone, iPads, Android, and just change the "device name" to the device name you are adding. You can use one key for all, but don't, just don't do it. Create a key for each device. It's safer and easier. You will be able to get access if you lose one device by using another.
Help...! I can't log in. My server is 'bricked"
So you have lost all your devices, or the key authentication process is just not authenticating anymore. How do we get access to our server and reset back to logging in using a username and password? This is where, when you get back home, you get the keyboard and monitor out. Plug them in and log in as admin locally, and let's turn back on password authentication with:
sudo nano /etc/ssh/sshd_config and change the lines:
PasswordAuthentication yes
PasswordAuthentication yes
Restart the SSH service with:
sudo systemctl restart ssh
Now you can reset or recopy your keys from your device as we did above. Of course, if you are using a VPS, then you will have to use the provider's console to do the above.
Basic Security Tips
These are not in any order or preference, so take your pick of either or a combination of:
- The easiest one is to use SSH locally only, take the port off your router, so no port forwarding.
- Change the port number for SSH.
- Recycle passwords every few months.
- Use key authentication on more than one device.
- Keep your admin group small.
- Use a VPN on a Pi to log in remotely.
There are probably more things you can do, like check that Fail2ban is working and so on.
I told you that this was a layman's guide, so I might have got one or two things wrong. Please let me know. I'm trying to make this easy for those of us who have had difficulty understanding and securing SSH and using Key Authentication.
There is, however, excellent documentation on SSH and key authentication at the Yunohost website, which, of course, should be the definitive guide rather than my 'Janet & John", ABC version. I only write from experience, trial and error.
dj.